

Detailed steps for the calibration, inspection, and metrological operation of stainless steel pressure gauges
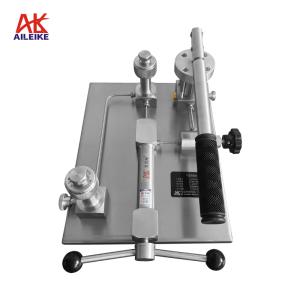
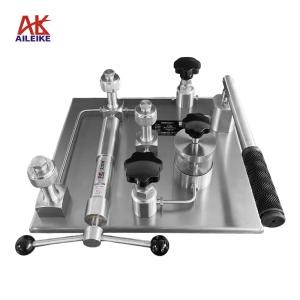
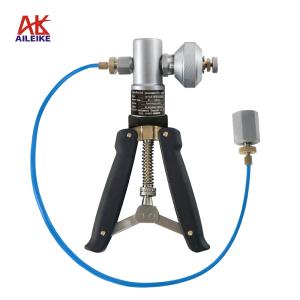
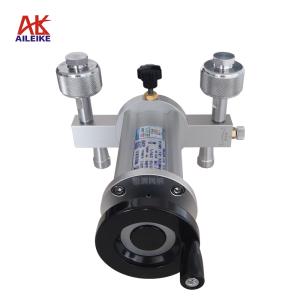
Pressure gauges are key industrial measuring instruments, and their measurement accuracy affects equipment operation and the validity of data. Therefore, it is particularly important to standardize the calibration, testing, and measurement of pressure gauges. In this article, we use the Air-Lac ALKB602 portable air pump and ALKC400D precision digital pressure gauge to clarify the requirements for the operating environment and standardize the calibration and testing process for positive pressure and vacuum of pressure gauges. This effectively ensures the accuracy of measurement data and the stability of equipment operation.
1. Calibration tool for pressure gauge
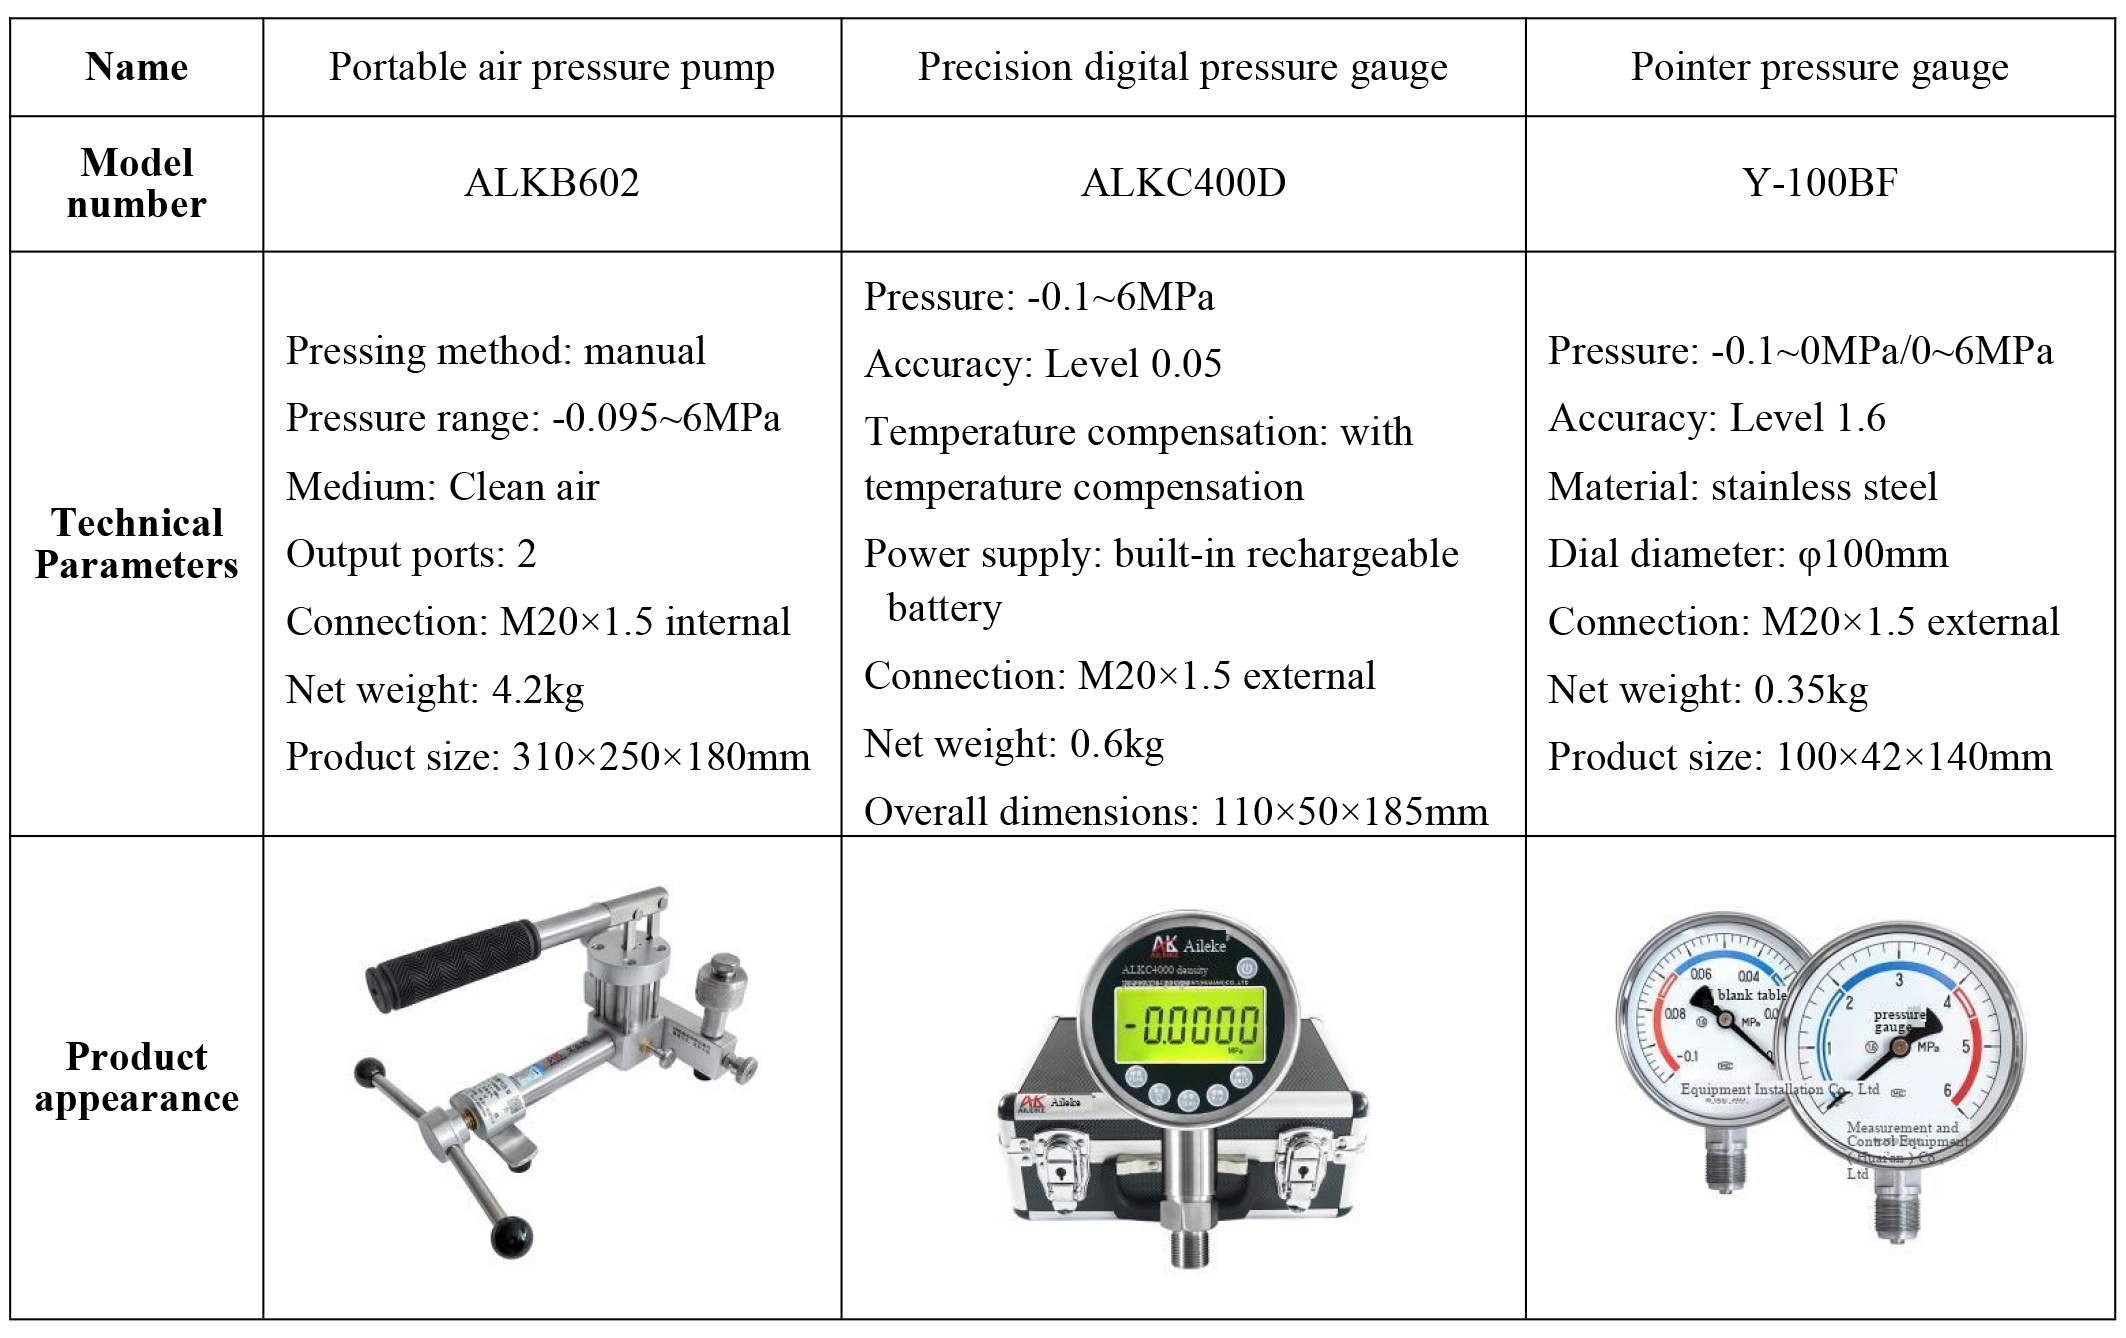
The entire verification process must strictly adhere to the current metrological technical specifications, primarily based on JJG52-2013 "Elastic Element Type General Pressure Gauges, Pressure Vacuum Gauges, and Vacuum Gauges". This standard is applicable to the initial verification, subsequent verification, and in-service inspection of elastic element type general pressure gauges, pressure vacuum gauges, and vacuum gauges, covering locally indicating pressure measuring instruments commonly used in industry.
II. Detailed Explanation of Operational Procedures
(I) Preliminary preparations
1. Environmental requirements
The temperature should be controlled at (20±2)℃, with a relative humidity of ≤85%RH, and there should be no condensation. Ensure that the site is free from vibration, dust, and corrosive gases.
2. Tool connection
Connect the standard gauge ALKC400D and the verified pressure gauge Y-100BF to the ALKB602 output port seal.
(II) Pressure gauge calibration process
1. Voltage boosting process
First, open the vent valve of ALKB602, then push the positive and negative pressure switch valve inwards (do not switch under pressure), adjust the fine adjustment knob counterclockwise to the appropriate position, and close the vent valve.
• Use a lever to apply pressure, stopping at around the verification point. Then, use fine adjustment to gradually turn clockwise to reach the verification point of 1 MPa. Once the pressure stabilizes and the standard indicated value no longer fluctuates, check the pressure value of the verified pressure gauge. Next, gently tap the side of the verified pressure gauge's casing with your finger (do not tap on the glass or tap hard), observe the pointer position, and record the indicated value after the tap stabilizes. Use the indicated value after the tap as the actual measured verification reading for this pressure point, and calculate the error.
• Then, use the lever to increase the pressure to around 1.9 MPa and 2.9 MPa, and then stop. Use the micro-adjustment to slowly adjust clockwise to the verification points of 2 MPa and 3 MPa. Once the pressure stabilizes, tap the pressure gauge being verified and record the value.
• Then, use the fine adjustment to slowly turn clockwise to the verification point of 4MPa. Once the pressure stabilizes, tap the pressure gauge being verified and record the value.
• Finally, directly use the fine adjustment to slowly turn clockwise to the verification points of 5MPa and 6MPa. Once the pressure stabilizes, tap the verified pressure gauge and record the value.
2. Decompression process
• First, slowly open the vent valve and reduce the pressure until it stops at the verification point. Close the vent valve, use the fine adjustment valve to slowly adjust it counterclockwise to 5 MPa at the verification point. Once the pressure stabilizes, tap the verified pressure gauge and record the value.
• Perform the same operation with the verification points adjusted to 4MPa, 3MPa, 2MPa, and 1MPa, check the pressure values of the verified pressure gauge, tap the verified pressure gauge, and record the indicated value after the tap becomes stable.
3. Pressure relief process
Open the vent valve, gradually release the pressure inside the pipeline until it reaches 0, and then the measurement is complete.
(III) Pressure gauge vacuum calibration process
1. Boost process
First, remove the verified gauge for measuring positive pressure and install the verified gauge for measuring negative pressure. Pull out the positive and negative pressure switch valve (do not switch under pressure). Then, turn the ALKB602 fine adjustment knob clockwise to the appropriate position and close the vent valve.
• Use a lever to evacuate the vacuum until it reaches around the verification value, then use a fine adjustment to slowly adjust it counterclockwise to the verification point of -0.02MPa. Once the pressure stabilizes, tap the verified pressure gauge and record the value.
• Perform the same operation at the verification points of -0.04MPa, -0.06MPa, -0.08MPa, and -0.095MPa, check the pressure values of the verified pressure gauge, tap the verified pressure gauge, and record the indicated value after the tap becomes stable.
2. Decompression process
• First, slowly open the vent valve to reduce the pressure to around the verification value and then stop. Close the vent valve, use the fine adjustment valve to slowly adjust clockwise to the verification point of -0.08 MPa. Once the pressure stabilizes, tap the verified pressure gauge and record the value.
• Perform the same operation with the verification points adjusted to -0.06MPa, -0.04MPa, and -0.02MPa, check the pressure values of the verified pressure gauge, tap the verified pressure gauge, and record the indicated value after it stabilizes.
3. Pressure relief process
Open the vent valve, gradually release the pressure inside the pipeline until it reaches 0, and then the measurement is complete.
III. Precautions
Standardized use
• During verification, it is important to ensure that the tolerance of the standard meter is less than that of the verified meter, to ensure accurate and reliable verification results that meet the metrological specifications.
• Operations should follow standard procedures. The ALKB602 portable air pressure pump should be used to increase and decrease pressure slowly to avoid pressure shock.
• Increase the pressure to the verification point and record the indicated value after the standard gauge's value stabilizes. For the verified pressure gauge, tap the gauge case after the pressure stabilizes, and take the indicated value after tapping as the accurate reading to ensure accurate recording.
• After the inspection is completed, slowly release the pressure to zero and ensure there is no residual pressure before removing the inspected instrument.
Maintenance and calibration cycle
• Regularly conduct metrological verification on the Precision digital pressure gauge alkc400D (it is recommended to do so once a year) to ensure that the measurement accuracy meets the standard.
• When the pressure gauge is not in use, the power should be turned off. If it is not used for a long time, it should be charged once every three months.
• If the air pressure pump is not to be used for a long time, it should be depressurized and stored, covered with a cloth cover to prevent dust from entering the instrument.
IV. Conclusion
This time, we strictly followed the standardized process to complete the calibration, inspection, and measurement of positive pressure and vacuum for the pointer pressure gauge. We adhered to strict environmental requirements and equipment operation specifications, and carried out inspection work at various pressure points. The standardized measurement and calibration operations ensured the authenticity and accuracy of the metrological data. Regularly carrying out pressure gauge calibration and inspection work can stably ensure the measurement accuracy of the instruments, providing a solid metrological guarantee for the smooth operation of equipment and compliant production.
Related News