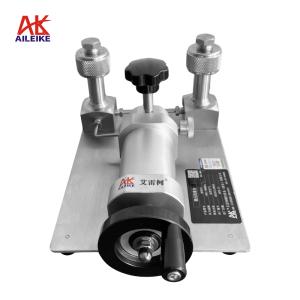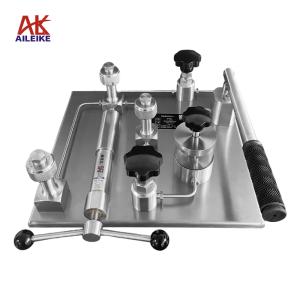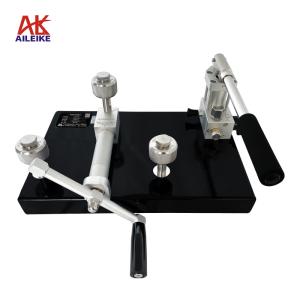


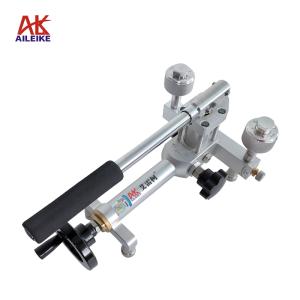
Operating Procedures for the Aileko ALKT9603 and ALKC400D Calibration Pressure Gauges
Pressure gauges are indispensable measuring instruments in pressure monitoring systems, and their accuracy is a critical safeguard for industrial production. This calibration utilized the Aileko ALKT9603 pneumatic calibration bench in conjunction with the ALKC400D precision digital pressure gauge, to calibrate the Y-100BF dial pressure gauge. Tests were conducted under both positive pressure and vacuum conditions, following the standard procedure of graded pressure increase and stabilization, light tapping to read the value, pressure reduction and re-inspection, and final pressure relief. Calibration data was fully recorded, indication errors were calculated, and operational guidelines and equipment maintenance plans were established to ensure the reliable transmission of pressure measurement values.
I. Pressure Gauge Calibration Tools
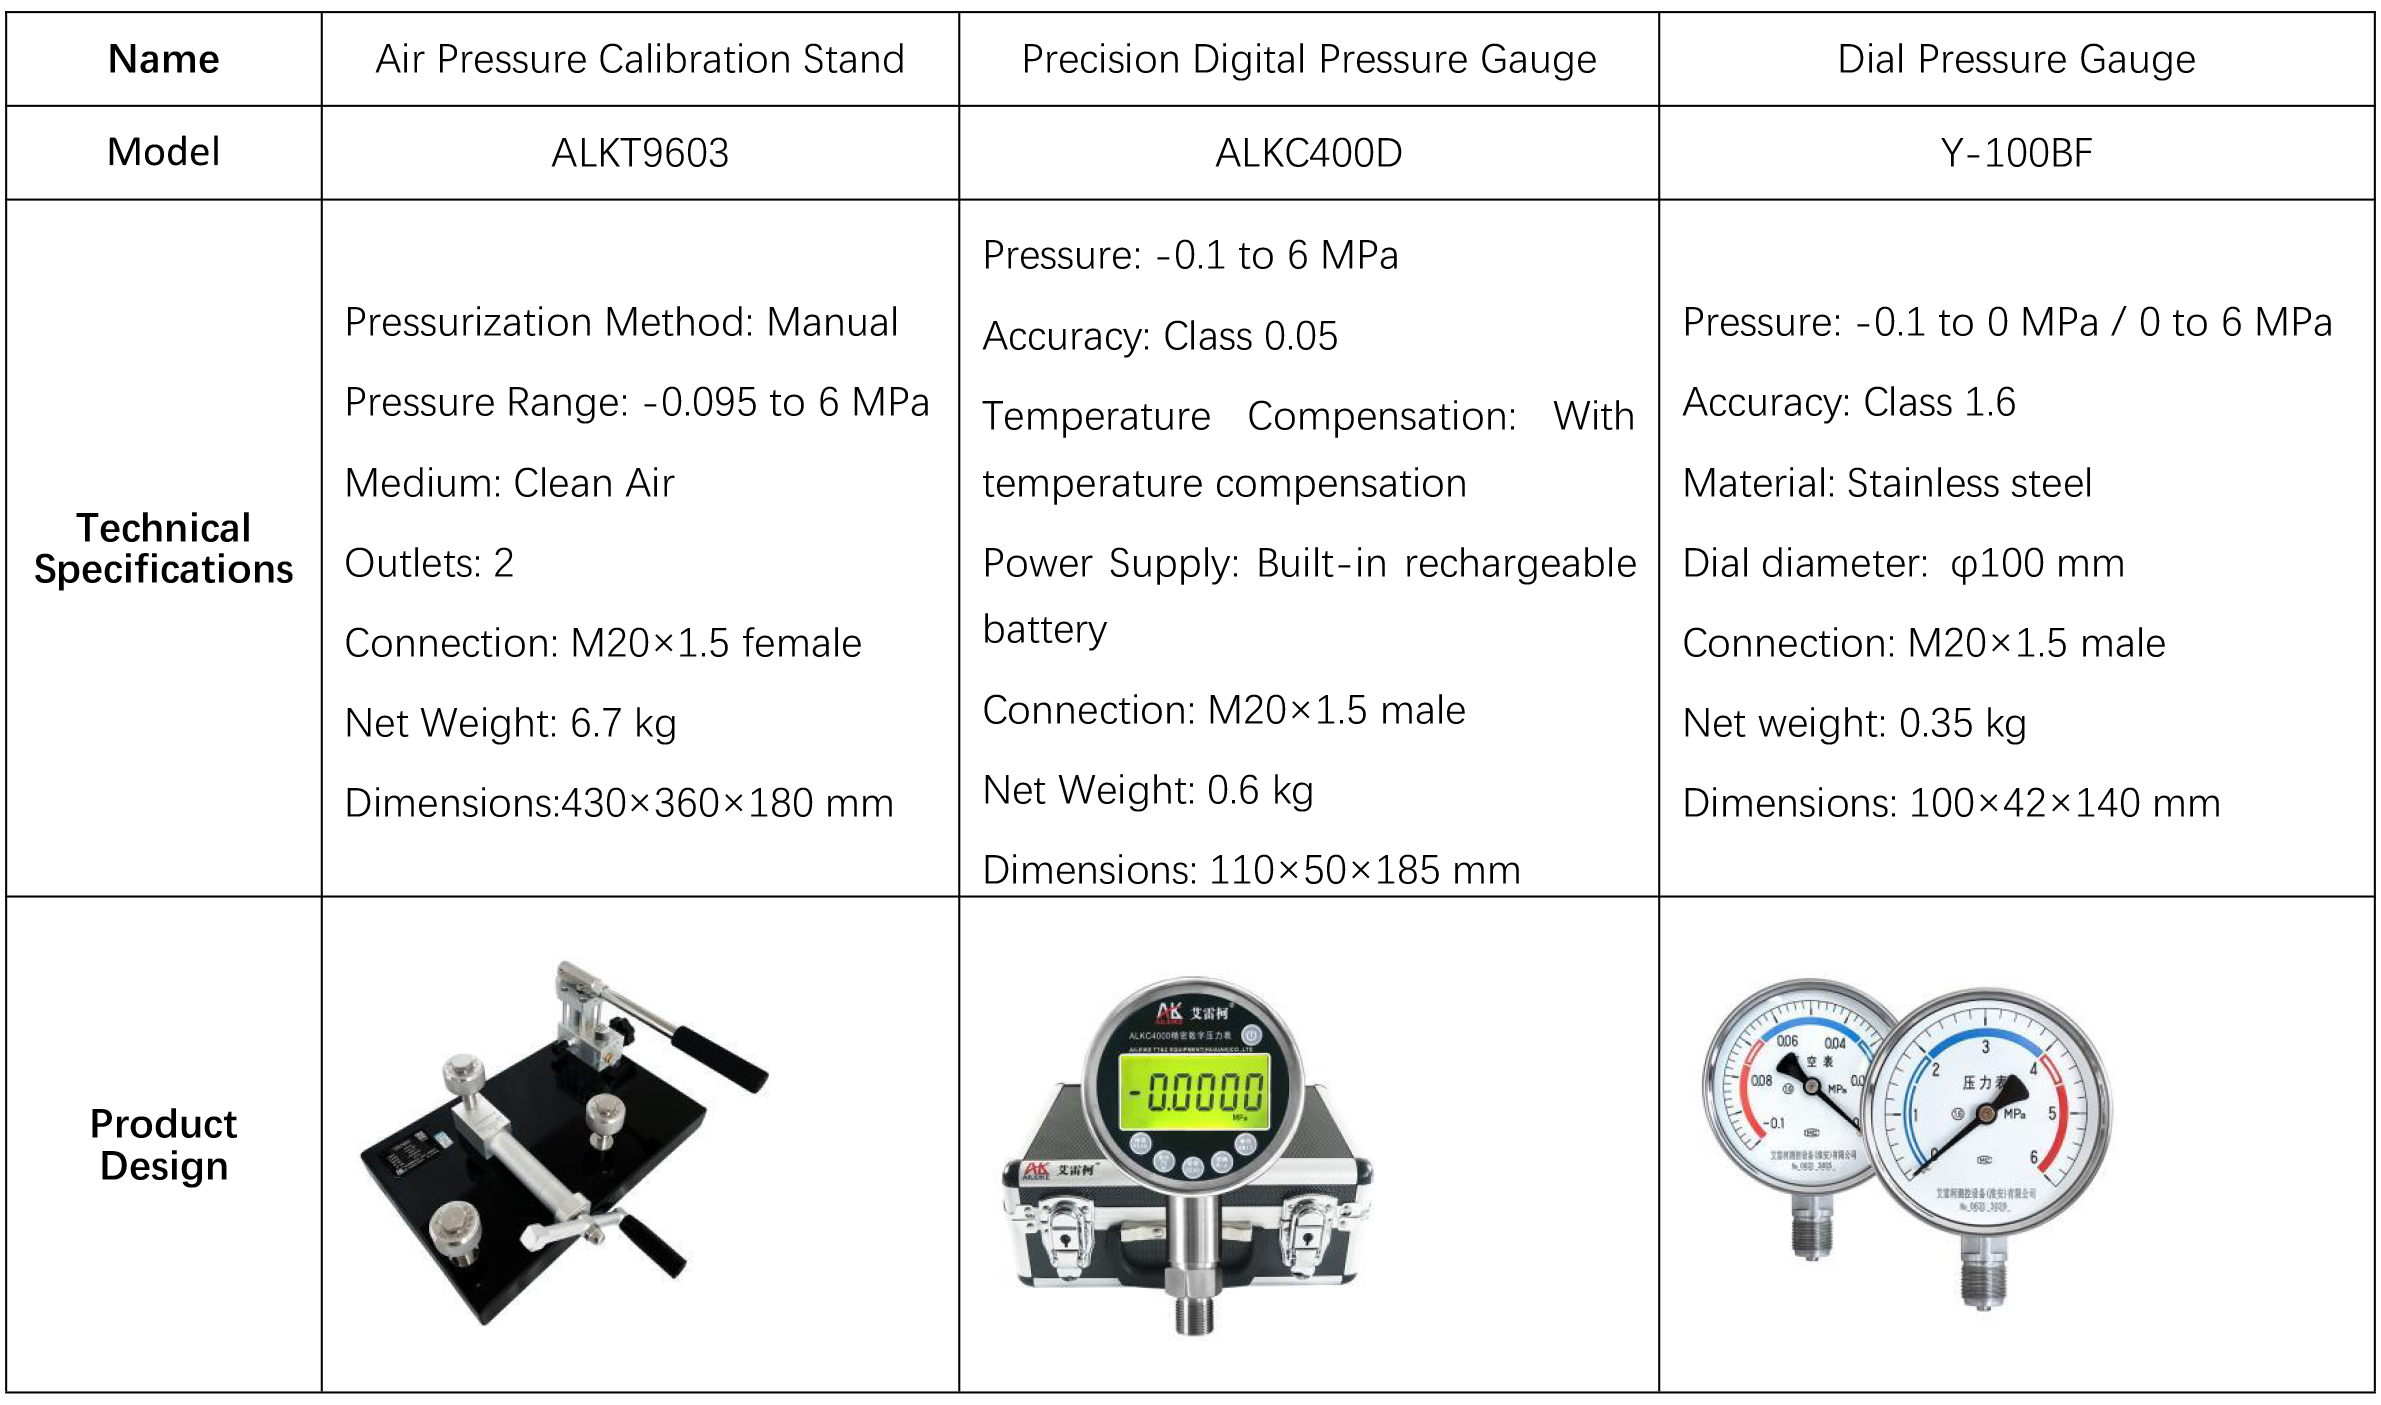
The entire verification process must strictly comply with current metrological technical specifications. The primary reference is JJG52-2013, “General Pressure Gauges, Pressure-Vacuum Gauges, and Vacuum Gauges with Elastic Elements,” which applies to the initial verification, periodic verification, and in-service inspections of general pressure gauges, pressure-vacuum gauges, and vacuum gauges with elastic elements, and covers on-site indicating pressure measurement instruments commonly used in industry.
II. Detailed Operational Procedures
(I) Preliminary Preparations
1. Environmental Requirements
Maintain a temperature of (20±2)°C, relative humidity ≤85% RH, and ensure there is no condensation. Ensure the site is free of vibration, dust, and corrosive gases.
2. Connecting Equipment
• Connect the standard gauge ALKC400D and the pressure gauge under test (Y-100BF) to the outlet of the ALKT9603 using a sealed connection.
(II) Pressure Gauge Calibration Procedure
1. Pressurization Process
• First, open the shut-off valve on the ALKT9603. Next, push the positive/negative pressure switch valve inward (do not switch under pressure). Then, turn the fine-tuning knob counterclockwise until it stops, and close the relief valve.
• Use the hand-operated pressure rod to apply pressure until it reaches approximately the calibration point, then use the fine-adjustment knob to slowly turn clockwise to the calibration point of 1 MPa. Once the pressure has stabilized and the standard reading no longer fluctuates, check the pressure reading on the pressure gauge under test. Then, gently tap the side of the pressure gauge’s case with your finger (never tap the glass or tap forcefully), observe the pointer position, and record the reading once it has stabilized after tapping. Use the reading after tapping as the actual calibration reading for that pressure point, and calculate the error.
• Next, use the hand-operated pressure rod to increase the pressure to approximately 1.9 MPa and 2.9 MPa, then stop. Use the fine-tuning knob to slowly adjust the pressure clockwise to the calibration points of 2 MPa and 3 MPa. Once the pressure stabilizes, tap the pressure gauge under test and record the value.
• Before adjusting to the next calibration point, first close the shut-off valve, then use the fine-tuning knob to slowly adjust clockwise to the 4 MPa calibration point. Once the pressure stabilizes, tap the pressure gauge under test and record the reading.
• Finally, use the fine-tuning valve to slowly adjust the pressure clockwise to the test points of 5 MPa and 6 MPa. Once the pressure stabilizes, tap the pressure gauge under test and record the reading.
2. Pressure Relief Process
• First, slowly open the relief valve to reduce the pressure until it reaches the test point, then stop. Close the relief valve and use the fine-tuning valve to slowly adjust the pressure counterclockwise to the test point of 5 MPa. Once the pressure stabilizes, tap the pressure gauge under test and record the reading.
• Repeat the same procedure to adjust to the calibration points of 4 MPa, 3 MPa, 2 MPa, and 1 MPa. Check the pressure reading on the pressure gauge under test, tap the gauge, and record the reading once it stabilizes after tapping.
3. Depressurization Process
Open the relief valve and the shut-off valve in sequence to gradually release the pressure in the pipeline. Once the pressure reaches 0, the measurement is complete.
(III) Vacuum Calibration Process for Pressure Gauges
1. Pressurization Process
• First, remove the pressure gauge under test that measures positive pressure and install the one that measures negative pressure. Pull the positive/negative pressure switch valve outward (do not switch while under pressure). Next, open the shut-off valve, then turn the ALKT9603 fine-tuning knob clockwise until it stops. Close the pressure relief valve.
• Use the hand pump to create a vacuum; stop when the pressure reaches approximately the calibration value. Use the fine-tuning knob to slowly adjust counterclockwise to the calibration point of -0.02 MPa. Once the pressure stabilizes, tap the pressure gauge under test and record the reading.
• Repeat the same procedure to adjust to the calibration points of -0.04 MPa, -0.06 MPa, -0.08 MPa, and -0.095 MPa. Check the pressure reading on the pressure gauge under test, tap the gauge, and record the reading once it stabilizes after the tap.
2. Pressure Reduction Process
• First, slowly open the relief valve to reduce the pressure to approximately the calibration value, then stop. Close the relief valve and use the fine-adjustment valve to slowly turn clockwise until the pressure reaches the calibration point of -0.08 MPa. Once the pressure stabilizes, tap the pressure gauge under test and record the reading.
• Repeat the same procedure to adjust to the calibration points of -0.06 MPa, -0.04 MPa, and -0.02 MPa. Observe the pressure reading on the pressure gauge under test, tap the gauge, and record the reading once it has stabilized.
3. Pressure Relief Process
Open the relief valve to gradually release the pressure in the pipeline. Once the pressure is reduced to 0, the measurement is complete.
III. Precautions
Proper Use
• Follow standard operating procedures. When pressurizing or depressurizing the ALKT9603 pressure calibration stand, do so slowly to avoid pressure surges.
• Pressurize to the calibration point, and record the reading once the standard gauge’s value has stabilized. For the pressure gauge under test, gently tap the case after the pressure has stabilized; use the reading immediately after tapping as the final value to ensure accurate recording.
• Upon completion of the test, slowly depressurize the system to zero and ensure there is no residual pressure before removing the pressure gauge under test.
Maintenance and Calibration Schedule
• Perform periodic metrological verification on the ALKC400D precision digital pressure gauge (recommended once a year) to ensure measurement accuracy meets standards.
• When the pressure gauge is not in use, turn off the power; if it will not be used for an extended period, recharge it once every three months.
• If the pressure test bench is not used for an extended period, depressurize it before storage and cover it with a cloth cover to prevent dust from entering the instrument.
IV. Conclusion
This paper describes the full-range standardized calibration and testing of positive pressure and vacuum dial pressure gauges. It strictly controls environmental conditions such as temperature and humidity during the testing process and standardizes core operations including pressure switching, pressure rise and fall rates, and tapping to read values. Raw data is recorded, indication errors are calculated, and the instrument’s metrological performance is comprehensively evaluated. It clarifies the operating procedures for calibration equipment, periodic verification, and the requirements for daily maintenance and storage of instruments. Regular pressure gauge calibration is implemented to ensure the stability of measurement performance.
Related News